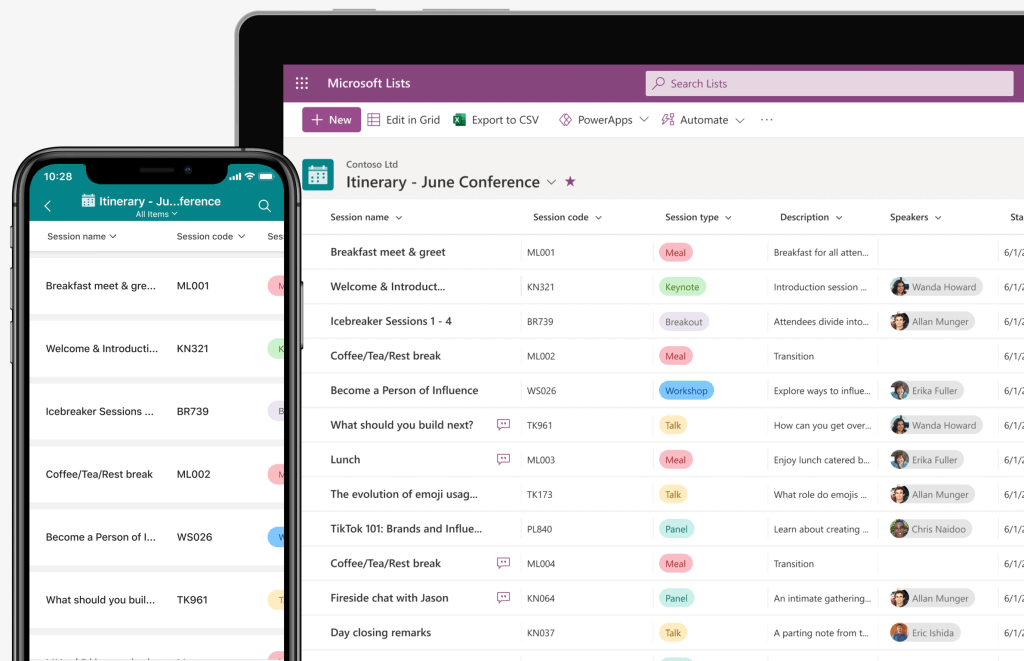
Microsoft Lists is an incredibly useful tool for managing information with its intuitive interface and user-friendly design. It’s the go-to for tracking tasks, deadlines, and projects with just a few clicks. And with each new update, it becomes even more helpful.
It has various features such as customizable views, rule-based formatting, and integration with Microsoft Teams. These features ensure that you stay organized and on top of everything.
Microsoft Lists has constantly been upgrading with new features and updates, and in the past few months, significant updates have left users in awe. In this blog post, we’ll explore the exciting new features and updates you need to know about for Microsoft Lists.
Wide Column and Narrow Column
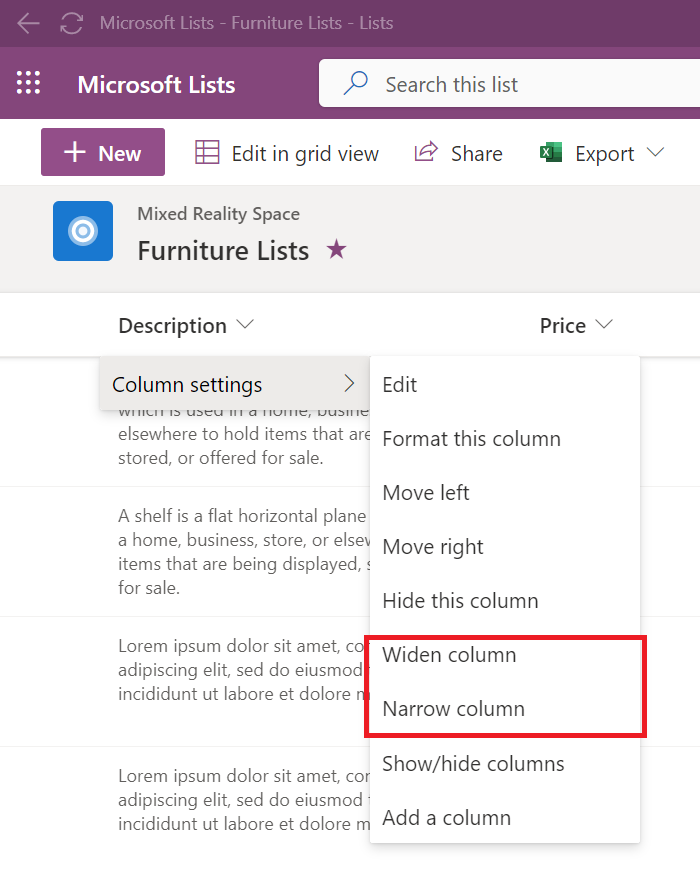
To widen or narrow a column in Microsoft Lists, there are two simple ways to achieve this. Firstly, you can resize the column to your desired width by clicking and dragging the column header. This will allow you to adjust the width to your liking.

If you choose to resize the column by dragging the header, the size you choose will be automatically saved. This means that every time you access the list, the column will appear at the width you set it to.
Alternatively, you can use the “Widen Column” or “Narrow Column” options. To access these options, select the column you want to resize, Column Settings >> Select Widen Column or Narrow column. This will automatically adjust the column width to a pre-determined size.

Adding a column made easy
In the past, when I added a new column, it would appear in the left panel. But this time, it opened a call-out container to create the column.

Select the “+” icon in the list’s header to add the new column. This will open the call-out container to create the new column. From there, select the desired data type and name the column. Once you have selected, click “Next” and “Save”.

Feedback: Another way to dismiss a notification when creating a new column or deleting it. 🙏 Found a post as well on Twitter regarding this by Matt Wade.

Calendar View – Weekly
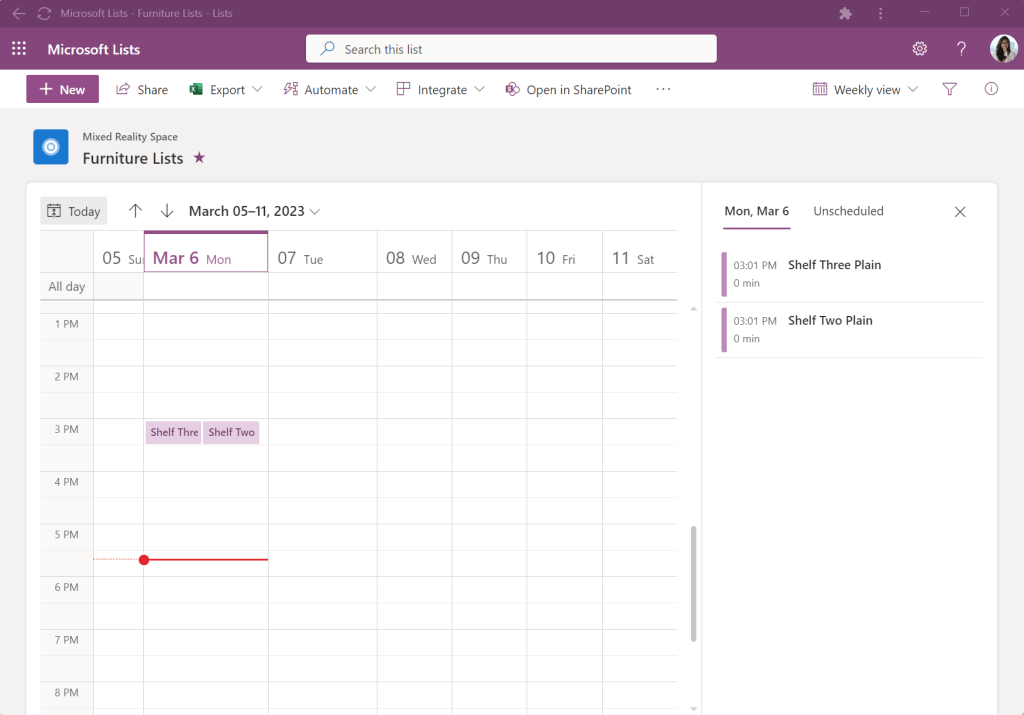
You can now create a calendar view in both monthly and weekly formats, allowing you to track information on a weekly basis easily.
To create a weekly calendar view, click View Options and select Create a new view when creating a new view then in Create View, select Calendar under Show as. From there, choose the weekly option and select the Start date on calendar and End date on calendar. Under more options, select the Title of items on calendar and Subheading.

The exciting part is you can add the Subheading other than the Title, and it’s now easy to track the information you need in the weekly layout. Hoping this will be added as well in the Monthly view.

If your data type format for the date is “date only,” it will display the all-day view.

However, the view will also display the time if your data type format is Date and Time.
Create a list – From CSV
A new feature in Microsoft Lists allows you to create a list from a CSV file. This is a convenient option for those with existing CSV data that they want to transfer to a list.
To start, select the “+ New list” option and choose “From CSV” as your source. You can then easily import your data and start managing it in your new list.


BONUS: Have you heard about the new template for creating a Playlist list in Microsoft Lists? It’s a game-changer! This template allows you to easily create playlists to share your video and audio files in Microsoft Lists. To learn more about this exciting feature, check out the great article “Create Playlists to share your video and audio files in Microsoft 365” by Mark Kashman.

Get ready to take your sharing and collaboration to the next level with Microsoft Lists!